Creating MV Tools


In the previous article, I went over the basics of MV tools. In this article, I’ll be going over the process of creating your own MV Tools.
Why Create Your Own?
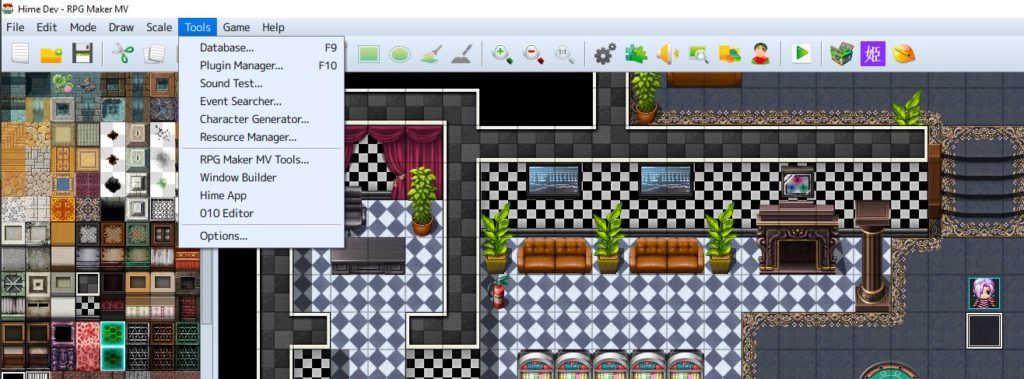
MV Tools add extra shortcuts to the editor, and will pass the current project’s path to the application that the user launches. The application could be a GUI application, or it could be a console-based application that simply performs some data processing using the current project’s information.
It’s mostly for user convenience, but it also makes your tool feel more official since it actually appears in the editor! Anyways, let’s go through the process to creating your own MV Tool.
MV Tool Anatomy
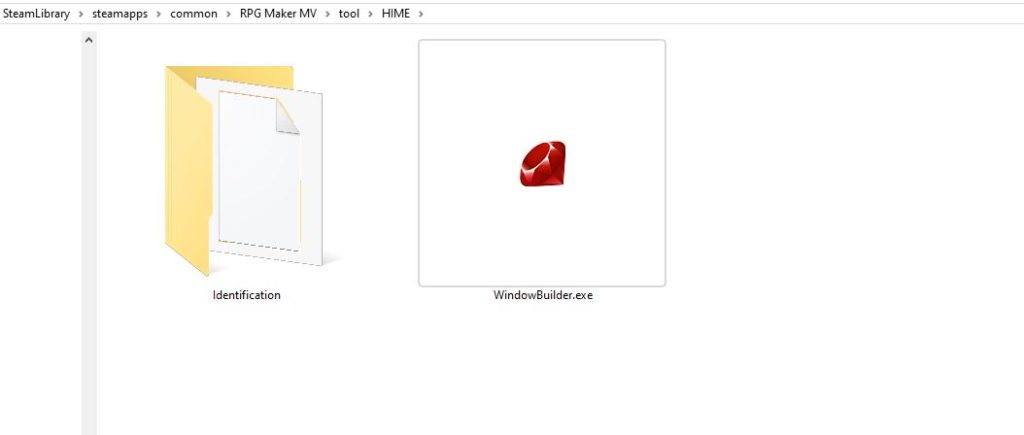
MV Tools are actually quite simple:
- There’s an exe file
- There’s an “identification” folder.
And that’s really all there is to it.
Executable Application
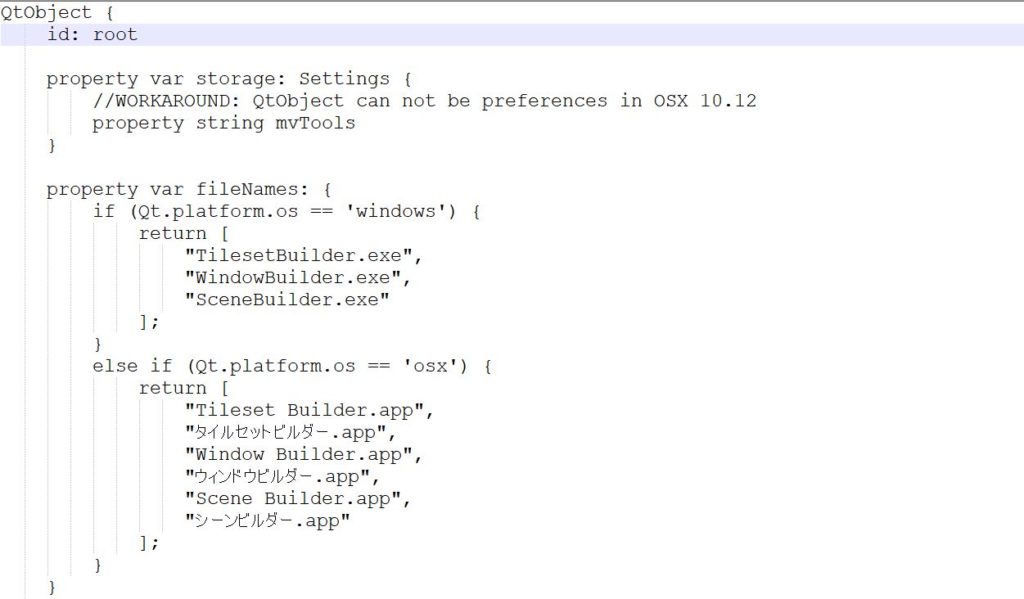
This is the executable that will be launched when you press the icon in the editor. It can’t be any name though; it must be one of the following:
- WindowBuilder.exe
- TilesetBuilder.exe
- SceneBuilder.exe
This is hardcoded into the editor, so it only expects one of these filenames. You can see it in the RPGMV.exe
Anyways for testing purposes, simply create a blank text file and rename it “WindowBuilder.exe”.
Identification
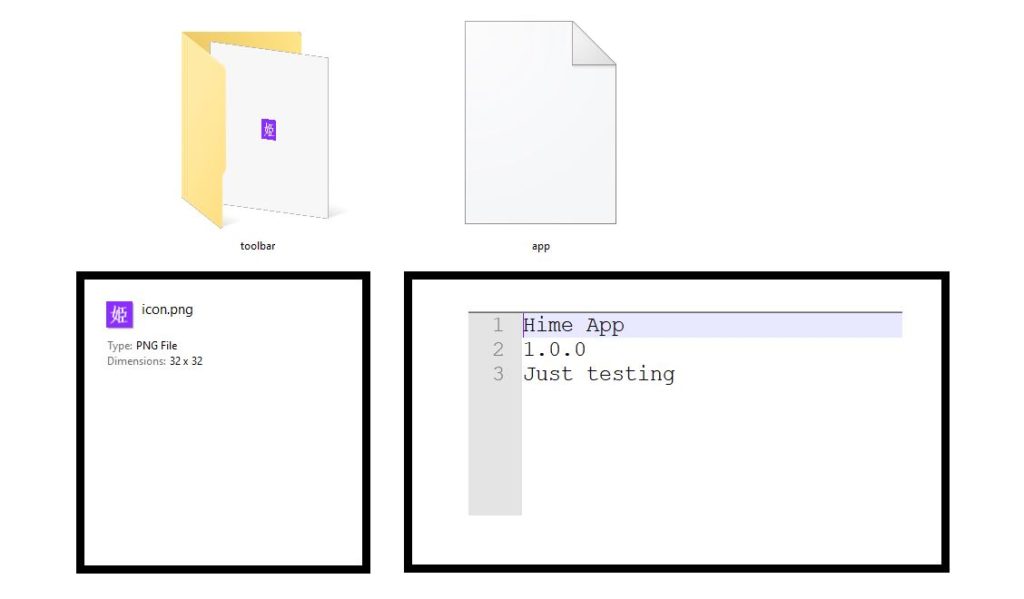
This what the editor uses to get information about your MV Tool. In this folder, there’s a file called “app” (no extension) and a folder called “toolbar” which basically holds a 32×32 pixel icon that will be displayed in the editor.
The “app” file is just a text file that has three lines of text:
NAME
VERSION
DESCRIPTION
Anyways so let’s set up a sample “app” file and add an icon to the toolbar folder. You can just use notepad to create the “app” file, but make sure you have file extensions enabled in your file explorer.
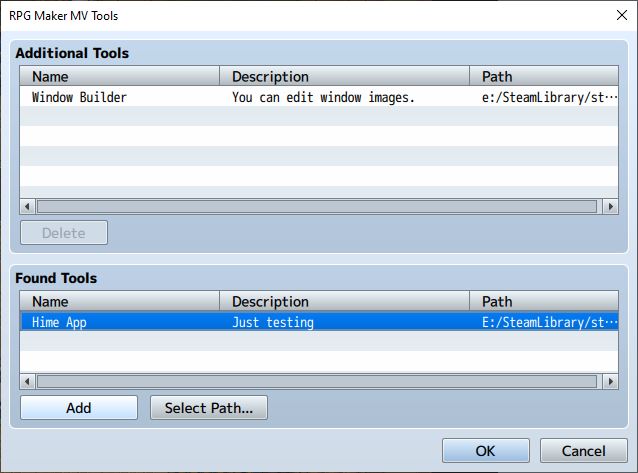
Now, when you go and add it to the editor, it’ll find your tool with the details you entered
And finally, once you confirm, it will appear in your editor, like the official MV tools!
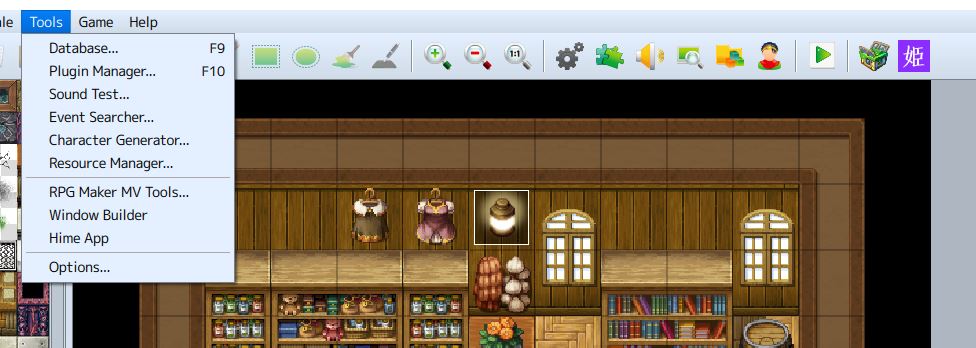
The hime app itself does nothing because it’s just an empty file called “WindowBuilder.exe”, but you can actually add any executable app to RPG Maker MV as long as it has the identification folder, and the exe is a valid name
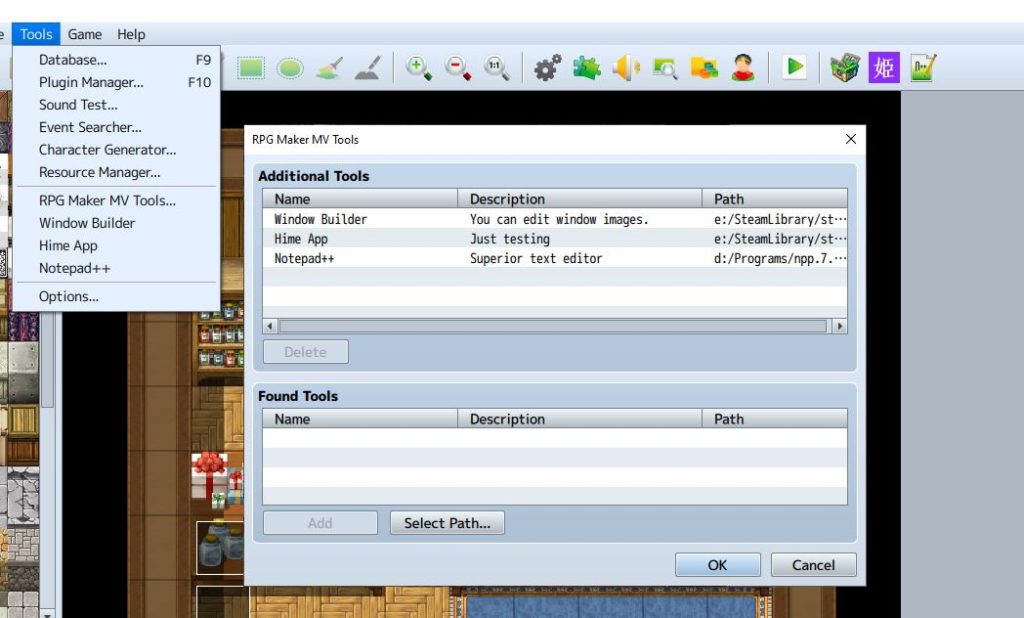
For example, I went and added notepad++ to it, which is my text editor of choice that I use for all my MV plugin development and other programming
When you click on the notepad++ icon, the editor will launch notepad++, and it will actually open something
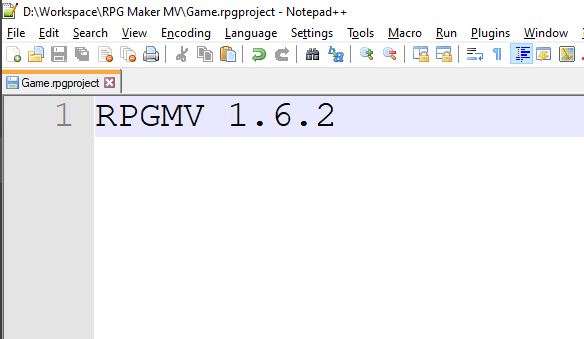
This is the Game.rpgproject file which sits in the base directory of your project folder! So basically RPG Maker MV sends the path to your project file to the application, which you can use to automatically load some data in the project for example.
Some Thoughts
So now you’ve learned how to create your own MV Tools. What can you do with it? Anything really. It’s just a regular application, so you can do whatever you can think of.
Of course, your application ideally should be able to run externally, but integrating it with the editor means that users who may not be as tech-savvy will be able to run your tool on their current project without having to go and open it from outside of the editor, which might not seem like that big of a deal but could be useful.
Unfortunately, from what I was told, MV Tools won’t be available in the initial release of RPG Maker MZ…hopefully they will add it back again in the future!
Like this Article?
This tutorial was made possible due to the fantastic support from my patrons, so that I can purchase MADO without worrying about whether it would actually be useful for me or not.
If you like my content and would like to see more, consider becoming a patron today! As a patron, you may also get exclusive access to advertising for your games or resources.
A small monthly donation is all that I ask for in exchange for free plugins and tools for the RPG Maker community.


