Hiding and Showing Rooms with Overlay Mapping


Overlay mapping is a mapping technique where you “overlay” your map with other graphics to create multi-layered maps. Maps are typically decomposed into several different layers depending on their height with respect to objects on the map. For example, you might have a layer for the floor which the player and other characters stand on, and a ceiling, which will appear above the characters.
This article discusses how you can use “overlay mapping” to achieve a visual effect where the contents of a room are hidden until you have stepped into the room itself.
Overview
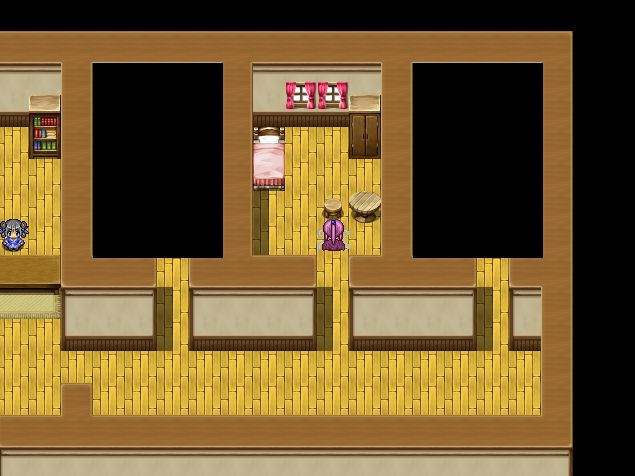
Suppose we walk into an Inn, and all we see is the lobby and the hallway. All of the rooms are currently hidden.
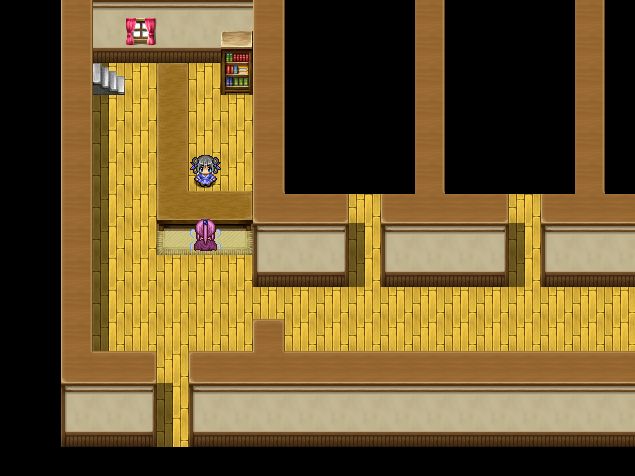
After we have checked in, we go ahead and explore the rooms. Upon entering one of the rooms, the contents are revealed!
You may already have an idea how this might be implemented. I will show you how this can be done using only pictures that you can draw yourself using any image editor such as Photoshop, along with a support script.
Here’s a video showing what we want to achieve
Starting with the Map
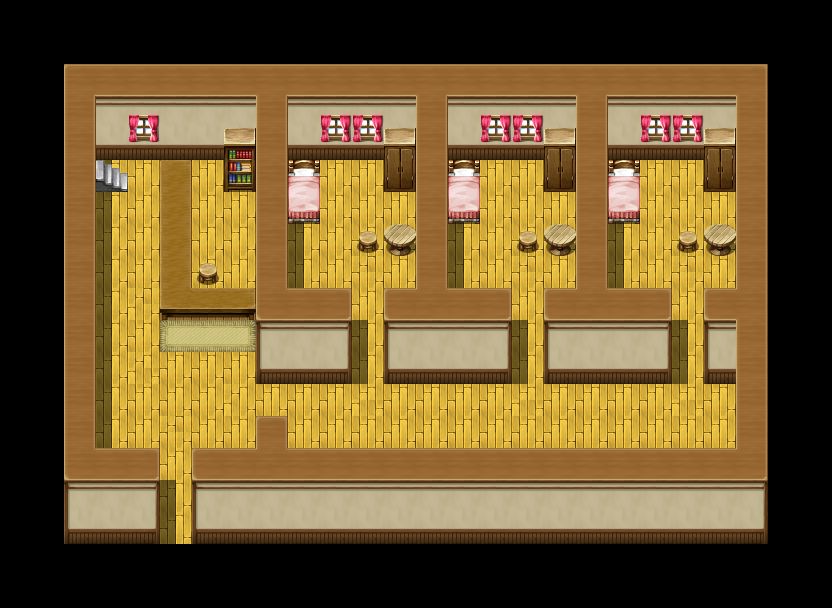
The easiest way to do overlay mapping is to have a copy of your map in your image editor. There are many ways to take a picture of your map. One way is to use the Map Screenshot script. So I start by taking a picture of the map that I want to work with:
Drawing the Covers
You can see that there is nothing special about the map. There are no black tiles covering each room. I would like to have a black cover over the room, so I go and create a rectangle that will fit the size of the room:

Very simple picture: just a black rectangle. If you place this over one of the rooms, it should cover it up completely.
Setting up your Pictures
We have one black cover, and we want to cover each of the three rooms. We will need to figure out where the picture should be positioned.
We go back to the RM editor and look at our map. The three squares I’ve drawn are the spots where the upper-left corner of each of the pictures should be positioned
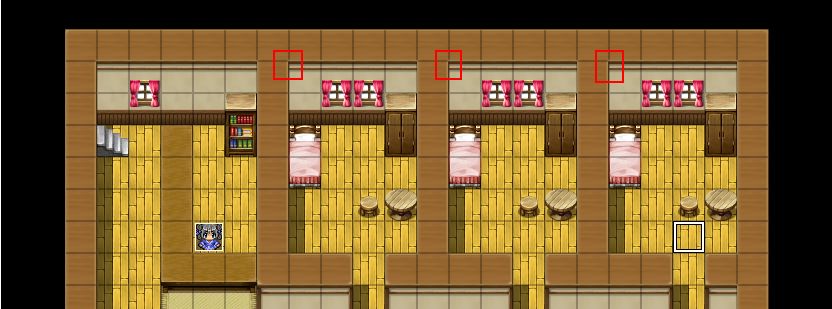
Highlighting the square whose upper-left corner is that point in the editor, it will tell me the location of that position in tile coordinates.
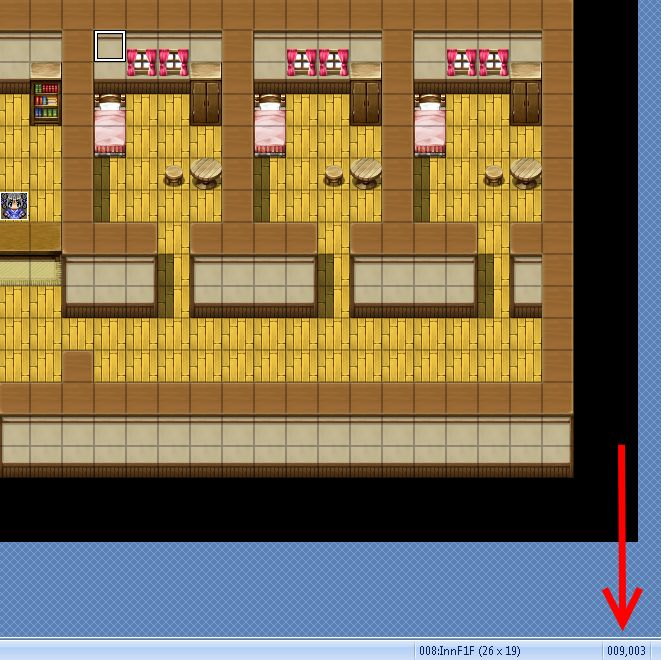
Doing the same for the other two squares, I have (14, 3) and (19, 3). These will be used when I’m actually displaying the picture in the game.
Displaying a Picture on the Map
Now, we want to display our covers at the coordinates we have identified from above. One problem with the default engine is that pictures are “anchored” to the game screen, and the game screen by default follows the player around. This means that the picture will follow you around, rather than sticking to our specified coordinate.
If you have ever worked with pictures in RPG Maker, you will know what I’m talking about. If not, try it out.
To solve this problem, we introduce a script called “Picture Anchors“. As the name suggests, it allows us to customize the picture’s anchor. Instead of anchoring to the screen, we want to anchor it to the map.
Initializing your Pictures
When we enter the map, we would like all of our overlay pictures to be displayed. We use a parallel process to create the pictures, and then we erase our event so that the next time we enter the map, the pictures will be initialized again.

Notice that for each picture, I use a different ID. I also set the anchor for each picture based on where I want it to appear on the map.
Entering a Room
When you enter a room, the cover should disappear to reveal the contents of the room. There are several ways we can do this.
You can erase the picture. This is straightforward: simply use an Erase Picture command. However, this is not completely desirable because then you need to re-create the picture again.
You can “hide” the picture by setting its transparency to zero. This can be done using the “Move Picture” command.

You can also customize how long the animation should take. If it takes 60 frames to go from 255 opacity to 0, then you will see a fading animation.
You can also customize the width or height over-time to achieve more animations.
Leaving the Room
When you leave the room, you would show the picture again. You can do something similar to what you did above, except instead of hiding the picture, you are showing it.
Summary
At this point, you should have a map set up with pictures covering 3 rooms. The pictures will be created upon entering the map. When you enter a room, the picture covering that room should disappear, and when you exit the room, the picture should re-appear.
This is an example of how you can hide rooms using pictures and picture anchors. There are many visual effects that you can do with just some creative eventing.
Moving Forward
At this point, you will likely realize that the pictures are not erased when we leave the room. You can set up your transfers to erase those pictures so they don’t carry forward to the other maps, but is there a better way to do it?
Spread the Word
If you liked the post and feel that others could benefit from it, consider tweeting it or sharing it on whichever social media channels that you use. You can also follow @HimeWorks on Twitter or like my Facebook page to get the latest updates or suggest topics that you would like to read about.